 Products Home / Optomechanical Components / Optical Rails / 25 mm Optical Rails / Construction Tools for 25 mm Rails
Construction Tools for 25 mm Rails
- Customize 25 mm Rails in Your Own Machine Shop
- Drill Guide Helps Build Rigid, Square Corners
- Taps and Tap Guide Make 1/4"-20 and M6-Threaded Holes
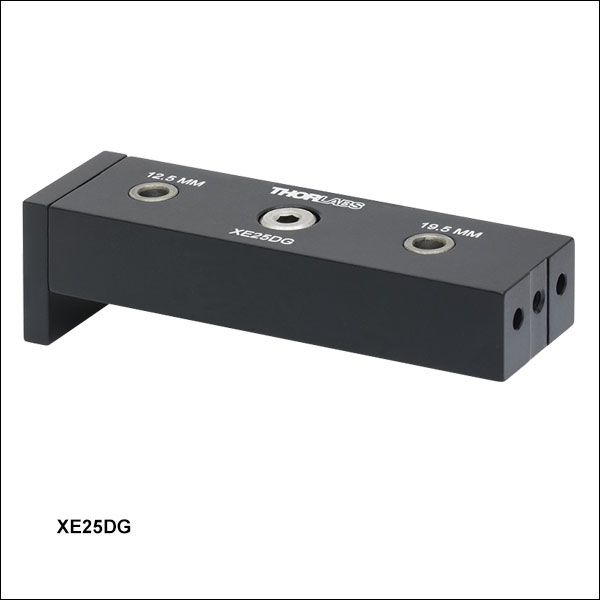
XE25DG
XE25TG
TW25
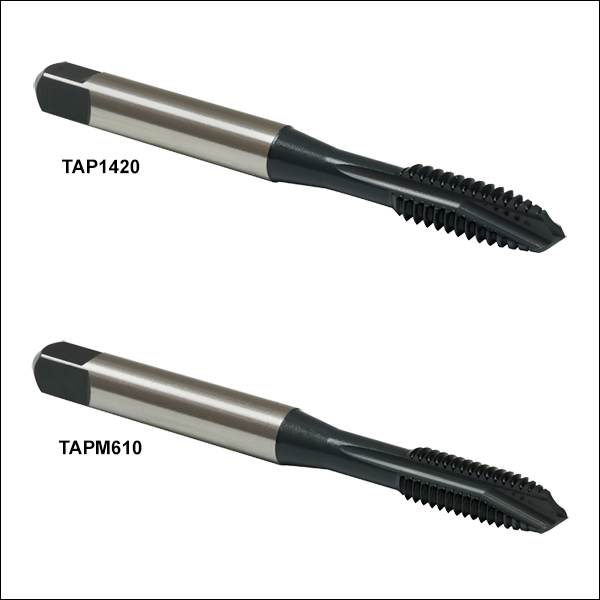
TAP1420
1/4"-20 Tap
TAPM610
M6 x 1.0 Tap
Machine Rails to Exactly
Match Your Application's Needs


Please Wait
| XE25 25 mm Construction Rail Accessories | ||||
|---|---|---|---|---|
 |
 |
 |
 |
 |
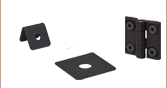
| Rails | Cubes and Brackets |
Breadboard Mounting |
Rail Joiners | Channel Insert |
 |
 |
 |
 |
|
| Construction Tools |
T-Nuts and Screws |
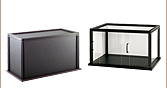
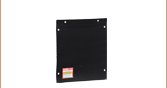
Enclosures | Enclosure Accessories |
|
Features
- Customize Rails to Meet Exact Application Requirements
- Drill Guide Helps Form Perfect Corners
- Taps, Tap Guide, and Tap Wrench Put Threaded Holes in Custom Locations
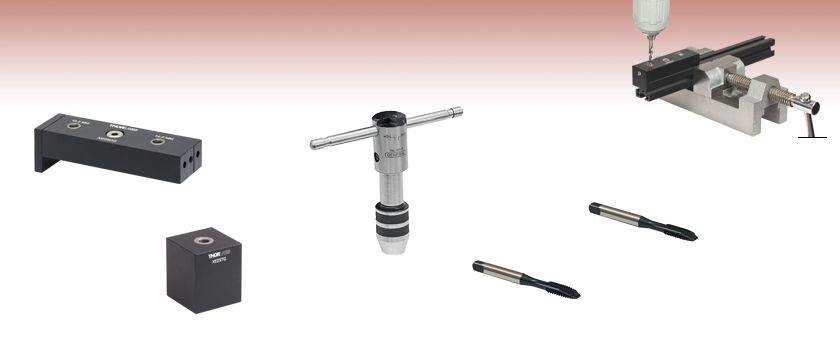
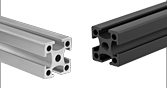
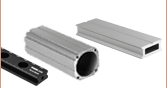
Thorlabs' 25 mm rails form the basis of lightweight, compact mechanical assemblies. In order to deploy these rails in the most demanding applications, we manufacture an assortment of construction tools that aid with "do-it-yourself" customization. These include a drill guide for making sturdy rail corners, a tap guide for making tapped holes on the rail ends, 1/4"-20 (M6) taps, and a tap wrench. Please see the Construction Methods tab for details on how these parts are used. For customers interested in machining and finishing their own rails, we offer a raw 25 mm rail extrusion.
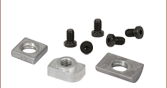
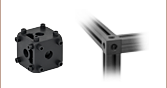
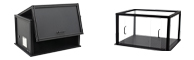
Thorlabs' accessories for assemblies made of 25 mm rails include corner cubes and brackets, T-Nuts, low-profile channel screws, breadboard mounting accessories, rail joiners, and a channel insert. In addition, we offer optical enclosures, enclosure accessories, and laser safety fabric panels for home-built XE25-based constructions.

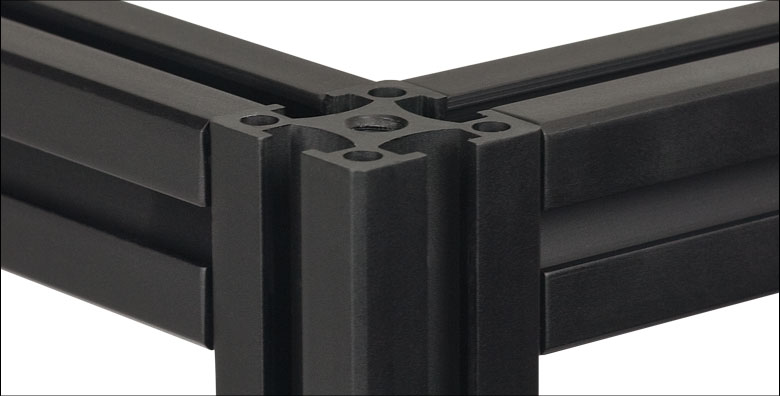
Click to Enlarge
Home-Built 90° Corner
XE25 Construction Techniques
Thorlabs' XE25 rails and components are the building blocks for many types of modular systems, including custom enclosures. For the most demanding applications, Thorlabs recommends the "direct connection" technique for forming right angles with rails, detailed here.
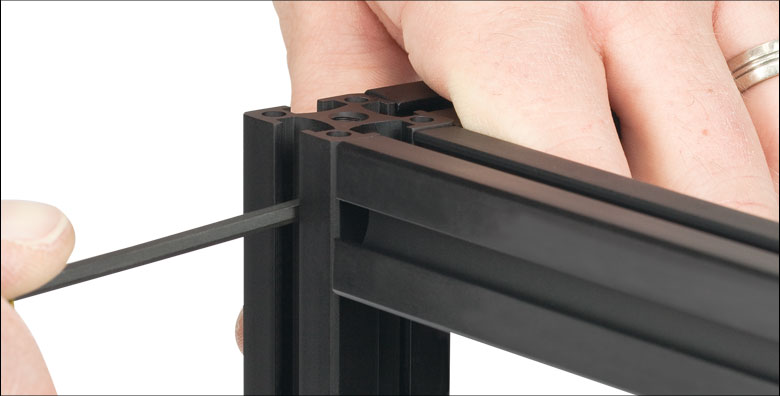
Step 1: Drill Side Holes
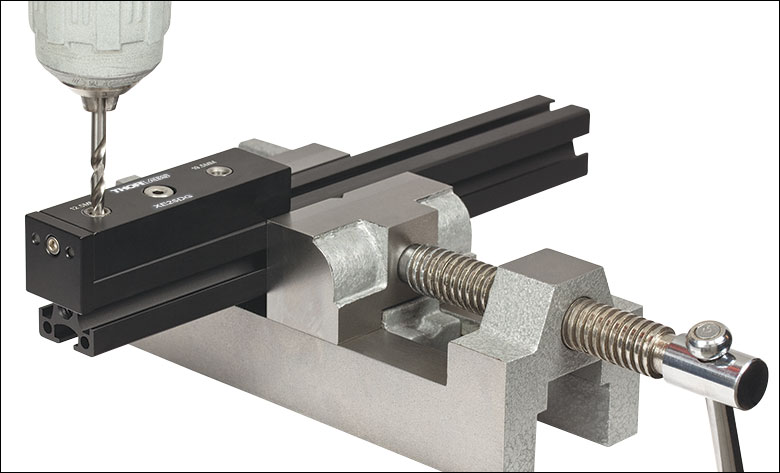
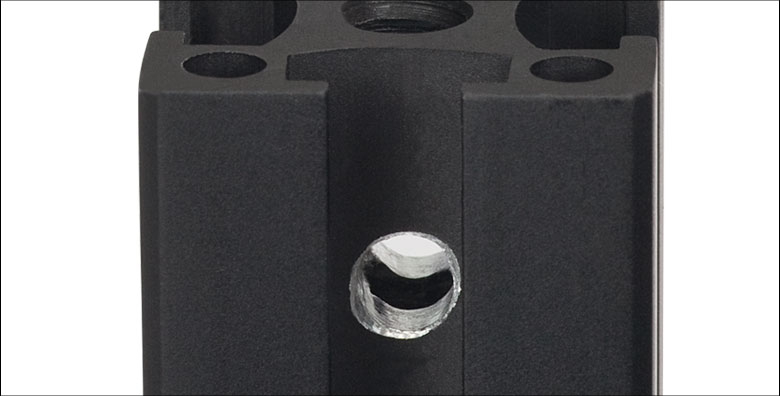
A Ø4.6 mm hole in the end of one rail, as shown in the picture to the right, is needed to provide access for a 1/8" (4 mm) balldriver.
For this step, you will need the T119873 Ø4.6 mm Drill Bit, the XE25DG Drill Guide, a hand drill or drill press, and a vise such as the TMV2.
The XE25DG drill guide is secured to the rail using the locking screw on top. A guide hole for the drill bit will be located 12.5 mm from the end of the rail. Now a hole can be drilled into the rail as shown in the figure to the left.
If your application requires a "three-way corner," such as that shown at the top of the page, you will have to drill a second hole in the rail at a 90° angle relative to the first hole.
Step 2: Tap the Center Hole, If Necessary
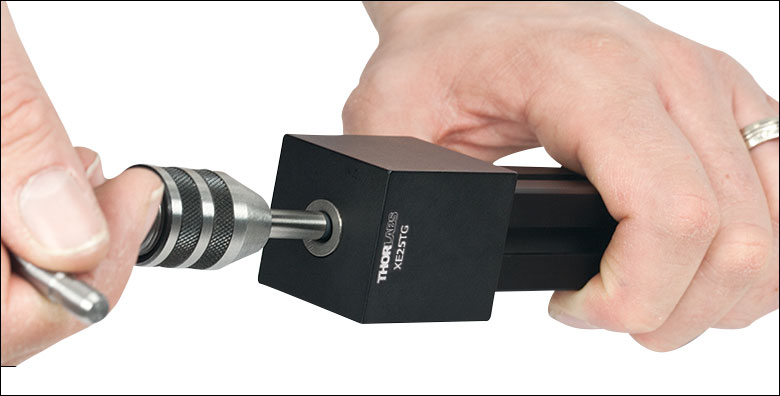
All stock and custom-length anodized XE25 rails have a 1/4"-20 (M6) tapped hole in the end of the rail. If you have cut a standard XE25 rail, or are using the XE25RL2 Raw Extrusion, you will need to tap a hole into the end of the rail.
For this step, you will need the TAP1420 1/4"-20 Tap (or the TAPM610 M6 Tap), the XE25TG Tap Guide, and the TW25 Hand Tap Wrench.
Fix the tap inside the tap wrench. Place the tap guide block over the end of the rail. The hole in the top of the guide will keep the tap square with the hole and minimize the chance of misthreading. Turn the tap to thread the hole.
Step 3: Attach Low-Profile Channel Screw
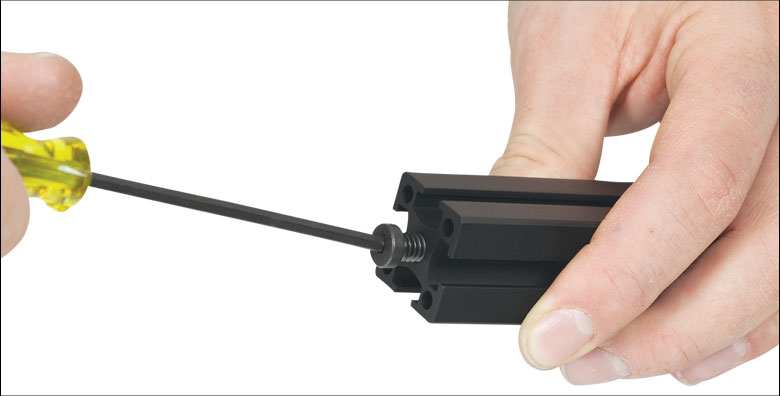
For this step, you will need a SH25LP38 1/4"-20-threaded (SH6M10LP M6-threaded) Low-Profile Channel Screw and a 1/8" (4 mm) balldriver.
Insert the screw into the threaded hole in the end of the rail, and tighten down partway with the balldriver. If you are making a three-way connection, you will need to thread another channel screw into the end of a second rail.
Step 4: Join the Rails
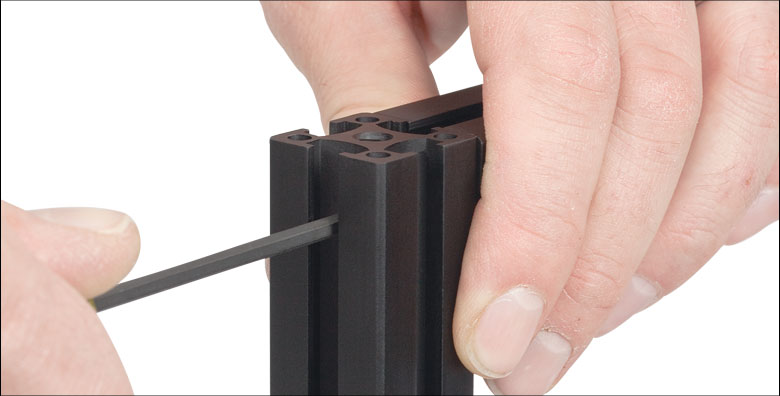
Slide the head of the channel screw into the channel of the rail with the drilled holes, so that the hex head lines up with the hole. Insert the balldriver into the hole, and tighten the channel screw. If making a three-way connection, repeat this process with the third rail, as shown in the figure to the right.
For increased stability, the corners may be reinforced with the XE25A90 Right-Angle Bracket.
| Posted Comments: | |
| No Comments Posted |

 Zoom
Zoom
Click for Details
Engineering Drawing
- Positions a Drill Bit 12.5 mm from the End of a 25 mm Rail
- Helps Build Sturdy, Square Corners
The XE25DG Drill Guide is specifically designed for the enclosure construction techniques detailed in the Construction Methods tab at the top of the page. It positions a drill bit 12.5 mm from the rail's end, thereby ensuring that the mated 25 mm rail forms a perfect corner.
A hardened bushing in the main block precisely aligns the drill guide along the rail channel and ensures that the drilled hole is perpendicular to the rail side. The main block slides along the rail until the hard stop is contacted. Once positioned, a built-in locking screw and T-Nut combination fastens the drill guide housing to the rail.

 Zoom
Zoom
- Tap 1/4"-20 or M6 Holes in Rail Ends
- Hardened Bushing Ensures Tapped Hole and Rail are Parallel
The XE25TG Tap Guide aligns a tap such that the resulting tapped hole is parallel to the rail axis. A hardened bushing insert acts as a precise guide for the tap, and the bottom of the guide is designed to accept a rail end. Although it is specifically designed for use with 1/4"-20 and M6 taps, it can also be used with smaller taps.
The main cause of tap breakage is unwanted sideways motion when the operator attempts to rotate the tap while simultaneously applying a force not purely parallel to the drill axis. This device discourages this costly error.

 Zoom
Zoom
Click to Enlarge
Sliding Crossbar
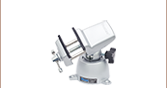
- Create 1/4"-20 or M6 Tapped Holes by Hand
- Accommodates Taps from #0 to 1/4" or 2 mm to 6 mm
This machinist-quality Hand Tap Wrench is ideally suited for everyday tapping requirements. The rugged stainless steel design provides durability and long life, and the crossbar conveniently slides to provide extra torque when required. The Hand Tap Wrench can accommodate taps as small as #0 or 2 mm and as large as 1/4" or 6 mm.

 Zoom
Zoom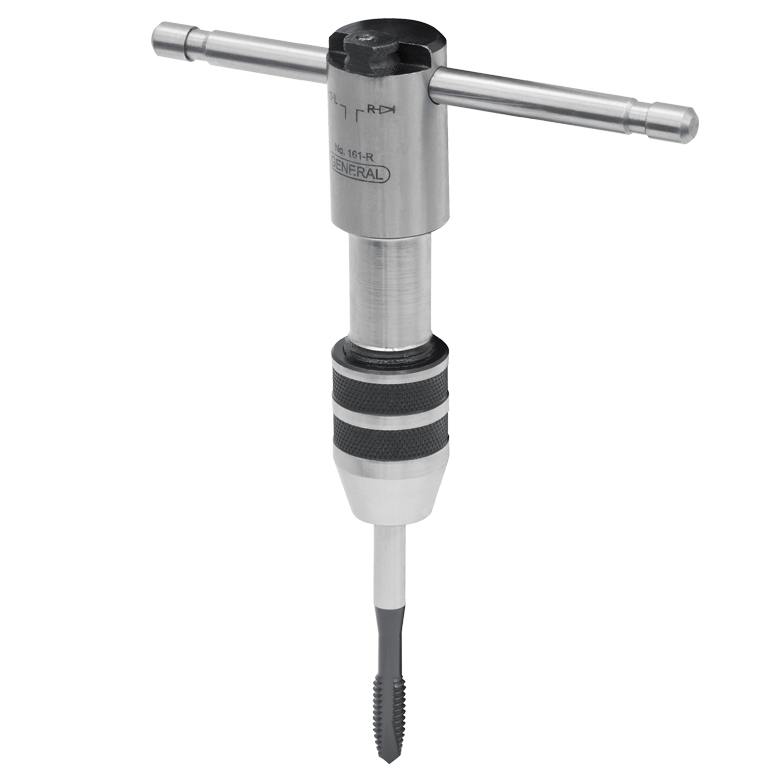
Click for Details
Tap Installed in TW25 Hand Tap Wrench (Sold Separately)
- Tap Custom Holes in 25 mm Rails
- 1/4"-20 and M6 Taps Available
These taps can be used in combination with the TW25 Hand Tap Wrench and XE25TG Tap Guide, both shown above, to customize our 25 mm rails. Thorlabs also offers a comprehensive selection of taps for many common threadings.